7 Easy Facts About The Ultimate Guide to Hardwood Flooring Installation in Vancouver, BC Shown


Putting up real wood floor covering can easily be a wonderful way to enhance the look and value of your house. Whether you're improving your present floor covering or putting in it for the first opportunity, it's significant to come close to the process along with patience and preciseness. In this step-by-step manual, we will definitely stroll you through how to set up real wood flooring in Vancouver.
1. Collect Your Components
Before you start installing hardwood floor covering, help make sure you possess all the needed materials on palm. This consists of your opted for hardwood boards, underlayment, adhesive or nails, a saw, a assessing tape, a hammer or nail gun, and security tools such as goggles and gloves.
2. Ready the Subfloor
The initial measure in putting up real wood flooring is to prepare the subfloor. Guarantee that it is well-maintained, dry, level, and cost-free coming from any sort of fragments or blemishes that could influence the installment procedure. If More In-Depth , make use of a vacuum cleaning service or sweeper to eliminate any sort of dirt or dust.
3. Placed Down Underlayment
The following step is to placed down underlayment on top of the subfloor. Underlayment helps minimize noise transmission and delivers extra protection for your hardwood floor covering. Roll out the underlayment across the whole floor area and trim down off any excess making use of a electrical blade.
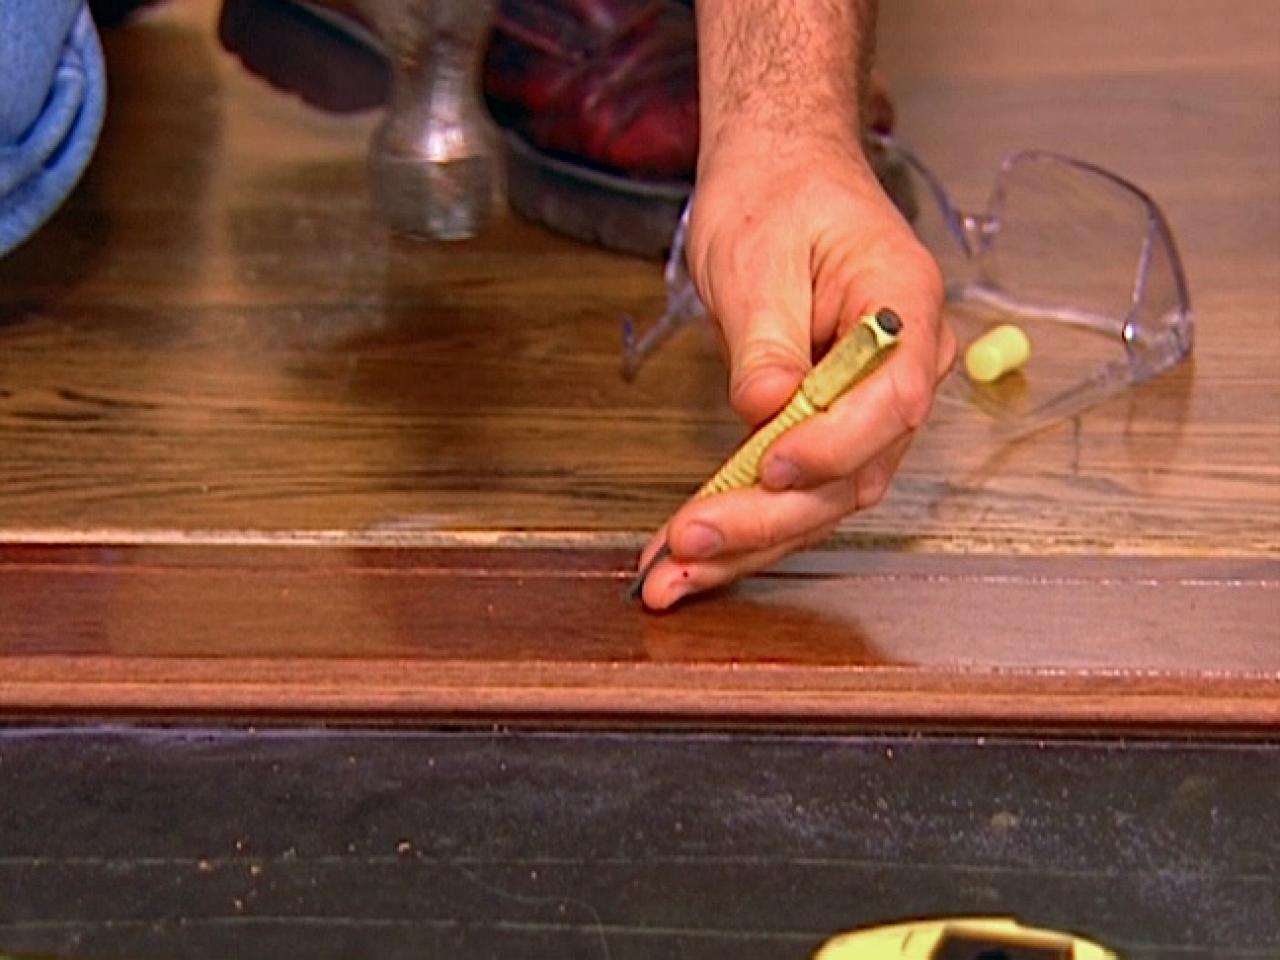
4. Step and Cut
Determine each region where you intend to install hard wood floor and note these sizes on your panels making use of a pencil or chalk series. Use a saw to meticulously reduced each board according to your dimensions.
5. Begin Installation
Start by setting down your initial row of boards along one wall structure of the room, leaving behind a little gap between each board for growth functions. Use glue or nails (depending on your selected approach) to safeguard each panel in to spot.
6. Proceed with Subsequent Rows
Once you have finished the 1st row of boards, proceed placing down subsequent lines in a angular pattern recognized as "angular joints." This develops stability and aesthetic allure. Always remember to leave behind a little gap between each panel and additionally between the panels and the walls.
7. Trim down as Needed
As you arrive at the end of each row, you may require to cut boards to fit right into smaller sized spaces. Use a step strip and saw to thoroughly reduced the boards according to your sizes.
8. Install Transition Pieces
Switch items are used to produce a soft shift between various floor covering surface areas or rooms. Action and reduced these transition pieces as needed, then protect them in spot using adhesive or nails.
9. Completing Contacts
Once all the wood floor covering is put up, it's time for the finishing touches. Utilize a hammer and ending up nails (or a nail weapon) to protect any sort of loose panels or trim that may demand additional encouragement.
10. Wash Up
Ultimately, take the time to wash up any sort of remaining debris or dust coming from the installation procedure. Brush up or vacuum the recently mounted hardwood flooring thoroughly, ensuring it appears tidy and polished.
In conclusion, putting up wood floor is an exceptional technique to enrich your house's visual appeal and value in Vancouver. Through complying with these step-by-step instructions, you can easily properly set up hard wood floor covering with precision and finesse. Take your opportunity, collect all essential components beforehand, and don't forget safety measures throughout the method for a effective installment encounter!